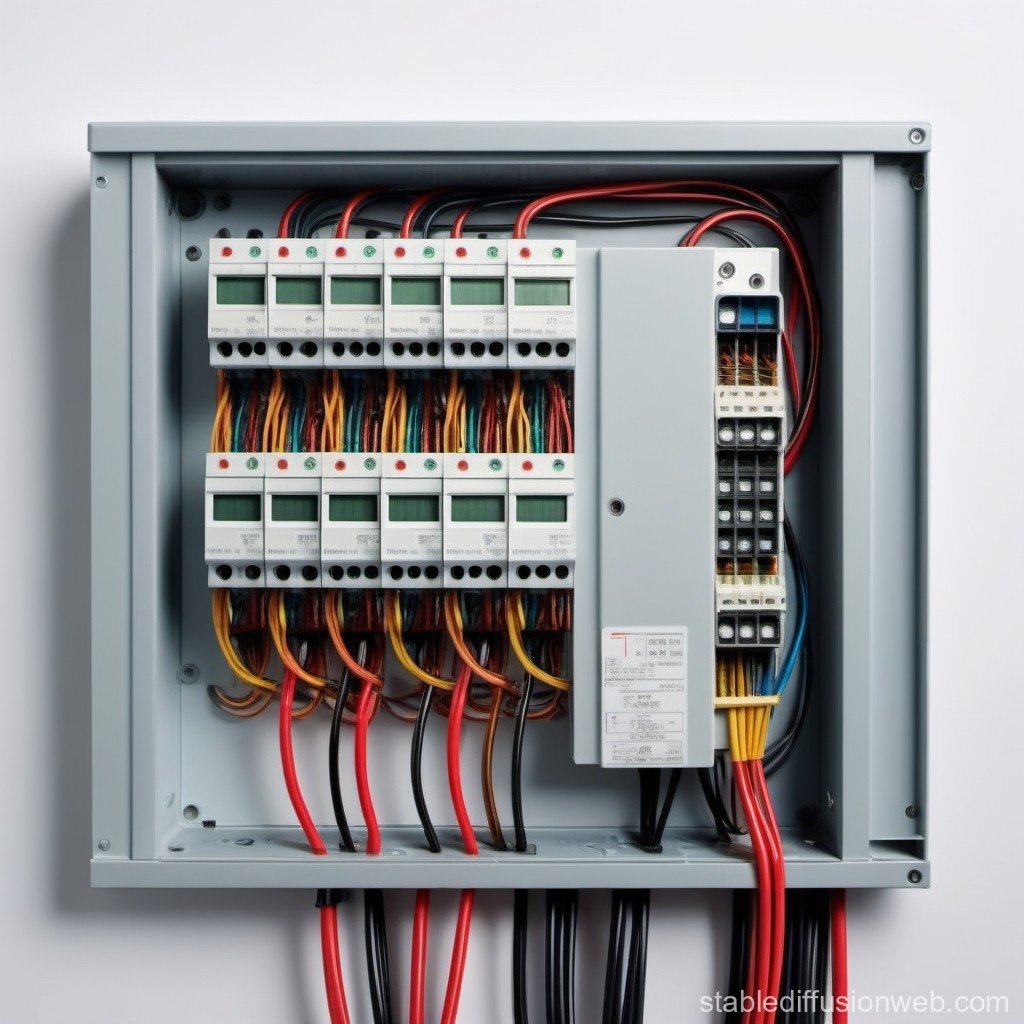
Diving into home electrical projects can feel like navigating a maze, but with the right map, it becomes a rewarding journey. That map? Wire diagrams. These visual blueprints are indispensable tools for anyone looking to safely and successfully tackle electrical tasks around the house, from installing a new light fixture to upgrading an outlet. They translate complex circuits into easy-to-understand symbols and lines, empowering you to connect wires correctly, troubleshoot issues, and even plan your future smart home integrations with confidence.
Understanding wire diagrams isn't just about following instructions; it's about gaining a deeper insight into how your home's electrical system functions. It builds a foundation of knowledge that prioritizes safety and ensures every connection you make is sound. So, let's illuminate the path to becoming proficient in reading and using these essential diagrams.
Decoding the Basics: Why Wire Diagrams Are Your Best Friend
At its core, a wire diagram is a simplified visual representation of an electrical circuit. It shows you the components (switches, outlets, lights, appliances), the wires connecting them, and the path electricity takes. Knowing how to read these diagrams is paramount for any DIYer because it helps you:
- Ensure Safety: Correct wiring prevents hazards like shocks, fires, and equipment damage. Diagrams clearly show where hot, neutral, and ground wires should connect.
- Troubleshoot Efficiently: When something isn't working, a diagram helps you trace the flow of power, pinpointing exactly where a fault might lie.
- Plan Upgrades: Whether you're adding a new outlet or redesigning your lighting scheme, diagrams help you understand current limitations and potential expansion points.
- Understand Grounding: This critical safety feature is always emphasized in diagrams. Remember, bare copper (ground) wires must always connect to the green screw on switches and outlets, and all grounds in a circuit should be connected, including at the fixture if possible, or securely to the electrical box.
Mastering Common Home Lighting Controls
Lighting is fundamental to any home, and understanding how to control it from one, two, or even multiple locations is a common project. Wire diagrams simplify these tasks significantly.
Simple On/Off Power with 2-Way Switches
A 2-way switch is your basic on/off control for a light or ceiling fan from a single location. The wiring is straightforward: the incoming hot (black) wire connects to one screw on the switch, and a black wire from the other screw runs directly to the load. All white (neutral) wires are connected together, typically with a wire nut, to complete the circuit. Don't forget the bare copper ground wire connected to the switch's green screw!
Controlling Lights from Two Spots: 3-Way Switches
Imagine controlling your hallway light from both ends – that's the magic of 3-way switches. These setups involve two switches working in tandem. The hot (black) wire from your power source connects to the common screw on the first 3-way switch, while the black wire going to your light fixture connects to the common screw on the second 3-way switch. The remaining screws on both switches are connected by "traveler" wires, which pass power back and forth between them. The order of these traveler wires doesn't matter, simplifying the connection process.
Adding More Control Points: The Power of 4-Way Switches
When you need to control a light from three or more locations, you introduce a 4-way switch into the circuit. A 4-way switch is always installed between two 3-way switches. To add even more control points, you simply add additional 4-way switches in series, ensuring they are always positioned between the initial two 3-way switches. These switches toggle their left connections between their two right connections internally, making the circuit function seamlessly from multiple points. In some complex scenarios, like when power enters at the light box, you might need to re-color code white wires with electrical tape to signify their use as a hot wire.
Setting the Mood with Dimmer Switches
Dimmer switches allow you to control the brightness of your lights, adjusting the voltage flow to the fixture. This is typically a 2-way dimmer switch, where the incoming hot (black) wire connects to one screw, and another black wire from the second screw runs to the light. Neutrals are wire-nutted together, as are grounds. It's crucial to ensure your light fixture is compatible with a dimmer; some older lights or specific types (like those with ballasts) require full power and won't work correctly.
Wiring for Power: Outlets and Receptacles
Outlets, or receptacles, are the power hubs of your home. Wiring them correctly is essential for safety and functionality.
Standard Outlets vs. Switched Receptacles
Most outlets are unswitched, meaning they're always hot and connected directly from the power source. You can wire multiple unswitched outlets in series, with each subsequent outlet connected in the same manner as the first. For a standard switched duplex outlet, both the top and bottom receptacles are controlled by a switch, usually requiring a 3-wire cable. Here, the white wires tie together for the return path, and the black (hot) wire runs through a 2-way switch to the outlet. If you want the upper and lower outlets of a receptacle to operate independently (e.g., one always hot, one switched), you'll need to remove the jumpers on one side of the receptacle and likely use a 4-wire cable to the receptacle and a 3-wire cable into the switch box.
Powering Appliances: Dryer Outlet Wiring
Dryer outlets handle higher amperages and have specific wiring requirements. In older homes, a 3-prong dryer outlet uses a 2-pole 30 Amp breaker and a minimum #10 gauge wire (10/2 with ground). While still acceptable in many areas, always verify local codes. The modern, recommended standard for new circuits is a 4-prong outlet, which includes an isolated ground wire separate from the neutral. This configuration uses a 10/3 with ground cable, ensuring a dedicated neutral and a dedicated ground wire. Both typically connect to the same ground bar inside your electrical panel, though some panels feature dedicated, physically connected neutral and ground bars.
Specialized Home Electrical Systems
Beyond basic lighting and outlets, wire diagrams are critical for more complex home systems, ensuring everything operates as intended.
Bringing Comfort and Light: Ceiling Fan Wiring
Wiring a ceiling fan with a light can range from simple to complex, depending on how you want to control it. If you're replacing an existing light fixture with a fan/light unit and only have 3-wire cabling, you might only be able to switch the light, with the fan controlled by its integrated pull chain. For independent control of both the fan and light from wall switches, a new 4-wire cable is generally required. You could set this up with two separate 2-way switches at one location, or even have the light controlled by 3-way switches from multiple locations while the fan uses a single 2-way switch.
The Brain of Your Climate Control: Thermostat Wiring
Thermostats are the command centers for your heating and cooling systems, and their wiring diagrams are a roadmap to comfortable indoor temperatures. A basic 4-wire heat + A/C system typically uses specific terminals:
- RC: Red Wire (24 Vac Power)
- RH or 4: Red Wire (Jumpered 24 Vac Power)
- W: White Wire (Heating Enable)
- Y: Yellow Wire (Cooling Enable)
- G: Green Wire (Controls Fan ON-Auto)
Many thermostats have an internal jumper for R to RC/RH/4, and the W, Y, and G connections are usually straightforward across most models.
Understanding Relays in Home Automation and Beyond
A relay is an electrical switch controlled by electrical power, not manual operation. It uses an energized internal coil to change the state of its contacts – Normally Open (N.O.) contacts close, and Normally Closed (N.C.) contacts open – allowing it to control separate circuits. For example, in a 120Vac Start/Stop circuit, pressing a "START" button energizes a Master Control Relay (MCR) coil, which then closes MCR contacts to power a light. A contact parallel to the "START" switch maintains power to the coil, so you can release the "START" button. Pressing the "STOP" button de-energizes the relay, turning off the light. This principle is vital in home automation, allowing low-voltage signals to control high-voltage appliances.
Expanding Your Wiring Expertise Beyond the Home
While this guide has focused on common home electrical projects, the fundamental skills you gain from understanding these wire diagrams are incredibly versatile. The ability to interpret symbols, trace circuits, and identify components is transferable to a vast array of other electrical systems, whether you're working on a hobby project or a vehicle. For instance, the same principles of hot, neutral, and ground, and the logic of how switches and loads interact, apply universally.
This expanded knowledge can be particularly valuable when you step outside the confines of your home's walls. If you're keen to Learn automotive wiring diagrams Demystify automotive systems, you'll find the basic building blocks surprisingly familiar. Understanding these diagrams is key to keeping your vehicle in top shape. To help you Get your vehicles wiring diagrams, many online resources and service manuals offer detailed schematics tailored to specific makes and models. This becomes indispensable when you need to Troubleshoot car electrical problems Automotive electrical issues, from a simple fuse blow to a complex sensor fault. Knowing how to Get Automotive System Wire Diagrams for your car's engine, lighting, or HVAC will empower you to tackle repairs and upgrades with confidence. And for those who love to personalize their ride, learning to Modify vehicle wiring Customizing vehicle wiring opens up a world of possibilities for adding new accessories or enhancing existing features. Even seemingly niche areas like trailer wiring, which involves carefully routing wires away from potential snags inside square tubing or U-channels, rely on clear diagrams for 4-pole, 6-pole, and 7-pole circuits to ensure safe and functional connections between your vehicle and trailer.
By understanding the logic and language of wire diagrams, you unlock a powerful capability to approach any electrical task, large or small, with greater competence and safety. So, grab your multimeter, review your diagrams, and confidently tackle your next project!